C++ Programming/Compiler/Linker/Libraries/Configuring Visual Studio
Example: Configuring MS Visual C++ to use external libraries
[edit | edit source]The Boost library is used as example library.
Considering you already have decompressed and have the binary part of the Boost library built. There the steps which have to be performed:
Include directory
[edit | edit source]Set up the include directory. This is the directory that contains the header files (.h/hpp), which describes the library interface:
Library directory
[edit | edit source]Set up the library directory. This is the directory that contains the pre-compiled library files (.lib):
Library files
[edit | edit source]Enter library filenames in additional dependencies for the libraries to use:
Some libraries (such as e.g. Boost) use auto-linking to automate the process of selecting library files for linking, based on which header-files are included. Manual selection of library filenames are not required for such libraries if your compiler supports auto-linking.
Dynamic libraries
[edit | edit source]In case of dynamically loaded (.dll) libraries, one also has to place the DLL-files either in the same folder as the executable, or in the system PATH.
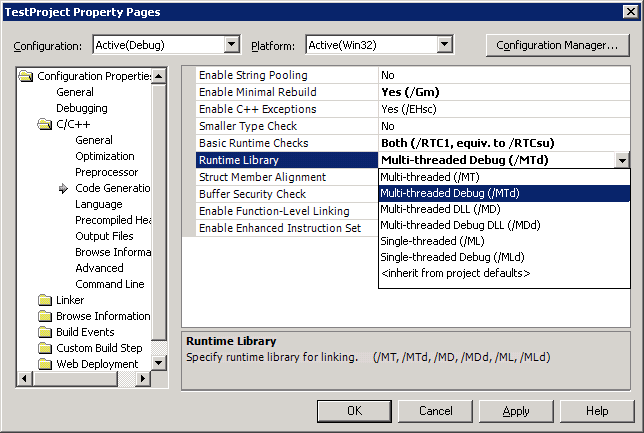
Run-time library
[edit | edit source]The libraries also have to be compiled with the same run-time library as the one used in your project. Many libraries therefore come in different editions, depending on whether they are compiled for single- or multi-threaded runtime and debug or release runtime, as well as whether they contain debug symbols or not.


