GIMP/Blending Exposures
Digital Cameras are limited in their abilities to capture scenes with a large dynamic range. They are especially prone to blown out highlights, losing all detail in bright areas. This How to will demonstrate a method for capturing pictures and then processing them with the gimp to create a picture with more dynamic range that a normal picture. This will involve taking the picture and then combining them back into one picture using the gimp.
Auto Exposure Bracketing
[edit | edit source]We will use Auto Exposure Bracketing to create 3 differently exposed pictures. The first picture will be a normal exposure, the second one will be an underexposure containing the highlights, and the third one will be an overexposed picture containing the shadows.
You will need a tripod or another stable surface. It is very important that the camera does not move a single nanometre during the 3 exposures. Compose the frame in the viewfinder, then activate auto exposure bracketing. Then take the 3 pictures without moving the camera in between shots, preferable with a remote to avoid pressing the shutter button.
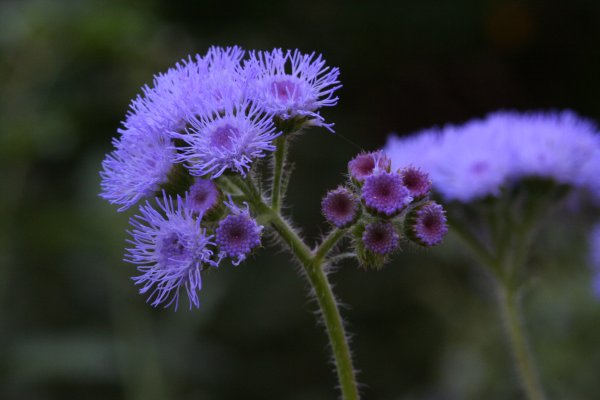
The results should look like this:


Editing With The Gimp
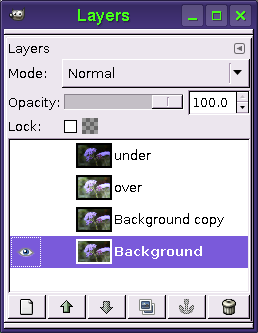
[edit | edit source]Open the middle exposure picture. From the File menu, select Open as Layers (default shortcut Ctrl+Alt+O) and shift-click to select both the dark and the bright exposure variants of the picture. This will add two layers, which you might want to rename to "light" and "dark" for example.
My images aren't perfectly aligned. Not sure why, maybe it has something to do with my tripod being on soft ground. Show only the underexposed and regular layer, and set the underexposed layer to partial transparency. Then zoom to 800% and move the underexposed layer until it is aligned with the regular exposure. Tap the arrow keys to move the layer one pixel at a time. You can try temporarily setting the mode of the dark layer to Divide or Difference; this will give strong contrast at unaligned edges (a high opacity will make the effect stronger). Repeat on the overexposed layer.

Now duplicate the background layer.

Now use the threshold tool on the duplicated layer to make the overexposed areas pure white
(<Image> Tools>Color Tools>Threshold...).

Add a layer mask to the underexposed layer. Cut the threshold that you just created and paste it onto the layer mask. (The layer mask is the rectangle in the layer dialogue to the right of the layer thumbnail.) With only the underexposed layer and regular layer, it should look like this:

The image looks rough at this point. To fix this select the layer mask and apply a Gaussian blur to it. I used a radius of 50px. The needed strength of the Gaussian blur will depend on the image so experiment with this value. This will ease the transition between the 2 images. It should now look like this:

Repeat with the overexposed image. The final image should look like this:

