OpenClinica User Manual/ShowingAnImage
Showing an image file
[edit | edit source]Introduction
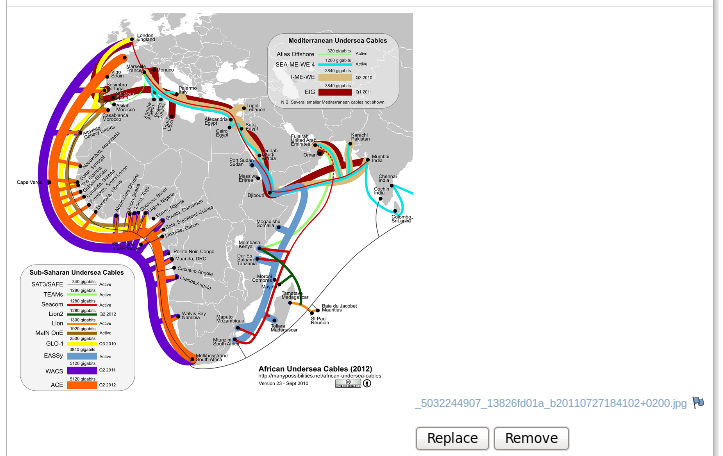
[edit | edit source]OpenClinica allows us to upload a file to the system. This file is only accessible through a link, it is not shown on the page. In this how-to we will see how we can show image files automatically.
Where to store the uploaded files
[edit | edit source]In datainfo.properties there is an attribute called 'attached_file_location'. This specifies where the uploaded files will be stored on the server. If we leave this item blank the default location will be used: /usr/local/tomcat/<study_name>.data/.
Challenge with default upload location
[edit | edit source]The default upload location is not in the root of the OpenClinica web application. Tomcat can therefore not access it, when we use a <img> tag. There are two ways around this.
- Change the default location
- Use a reverse proxy to serve images
Change the default location
[edit | edit source]When we want to store files in a place that is visible to Tomcat we change the line in datainfo.properties to:
attached_file_location=/usr/local/tomcat/webapps/<study_name>/attached_files/
Don't forget to change the <study_name> placeholder into something meaningful for your system.
Use a reverse proxy to serve images
[edit | edit source]Use OpenClinica_User_Manual/UsingAReverseProxy to install Nginx as a reverse proxy. Add this line to the https server configuration of Nginx
location ~ ^/studies/attached_files/(.*)$ {
    #don't forget to change <study_name>
    alias /usr/local/tomcat/<study_name>.data/attached_files/$1;
}
Now images will be served directly by Nginx. If you use a lot of images, this is the preferred configuration.
Code to add to the Excel CRF definition
[edit | edit source]Read OpenClinica_User_Manual/StylingWithJQuery for a better understanding of the code below. Put the code in LEFT_ITEM_TEXT.
<script>
  jQuery(document).ready(function($) {
    function showPicture(pIDSelector,pCSSMapInput) {
        // find the link to the picture
        var vPath = location.pathname;
        // are we only viewing the data?
        if (vPath.search('ViewSectionDataEntry') > 0) {
            // yes, we are
	    var picLink = $(pIDSelector).parent().next().find('a').attr('href');
        } else {
            // no, we are editing
            var picLink = $(pIDSelector).parent().parent().find('div').find('a').attr('href');
        }
        // accept only png and jpg files
        if (picLink.indexOf(".png") > 0 || picLink.indexOf(".jpg") > 0) {
            var vCSS = ""
	    for (css in pCSSMapInput) {
	      vCSS = vCSS + css + ":" + pCSSMapInput[css] + ";";
	    }
            //choose one of vUploadLocation, depending on your configuration (delete the other)
            // change <study_name> to a valid name for your installation
	    var vUploadLocation = '<study_name>.data';
	    var vUploadLocation = '<study_name>';

            var picSrc = picLink.substr(picLink.search('attached_files'));
            $(pIDSelector).parent().parent().before('<tr><td><img style="' +  vCSS + ' " alt="pic" src="/' + vUploadLocation + '/' + picSrc + '"></td></tr>');
        }
    }
    //add your items here, note that the id must be the same as that of the span in the row that specifies the file upload.
    showPicture('#pic1',{'width':'200px'});
});
</script>
//add a span with an named id to LEFT_ITEM_TEXT in the row that specifies the file upload.
<span id="pic1">left item text for my picture</span>
The picture will be inserted before the standard buttons for replacing or removing a file. The picture is not immediately visible. It will be shown after you save the page and reopen it again.

