Trainz/Tutorial for Blender/Tutorial to texture a basic house:
Texturing the house
[edit | edit source]Note if you get lost then do the texturing tutorial here first that goes into more detail.
http://en.wikibooks.org/wiki/Trainz/Tutorial_for_Blender#Textures
First we need a texture file kuid 86627:2491 Leopold Lane has a suitable texture file. It is actually larger than we need for a simple house but does have the roof and stone work we need.
None essential information: The texture is laid out for tiling in Blender, the house and roof are actually mirrored in the center so they will tile seamlessly. The garden wall can either be used under the house if the house is extended below ground level useful for hills or it can be used separately as the garden wall texture. If you build a terrace then by adding planes over the existing doors you can change the colour of the doors to vary the terrace. The planes are mapped to the doors in the texture below. Note also that the night mode texture or lit windows are included in the main texture.
After starting Blender, open the house we have already created in the previous tutorial.
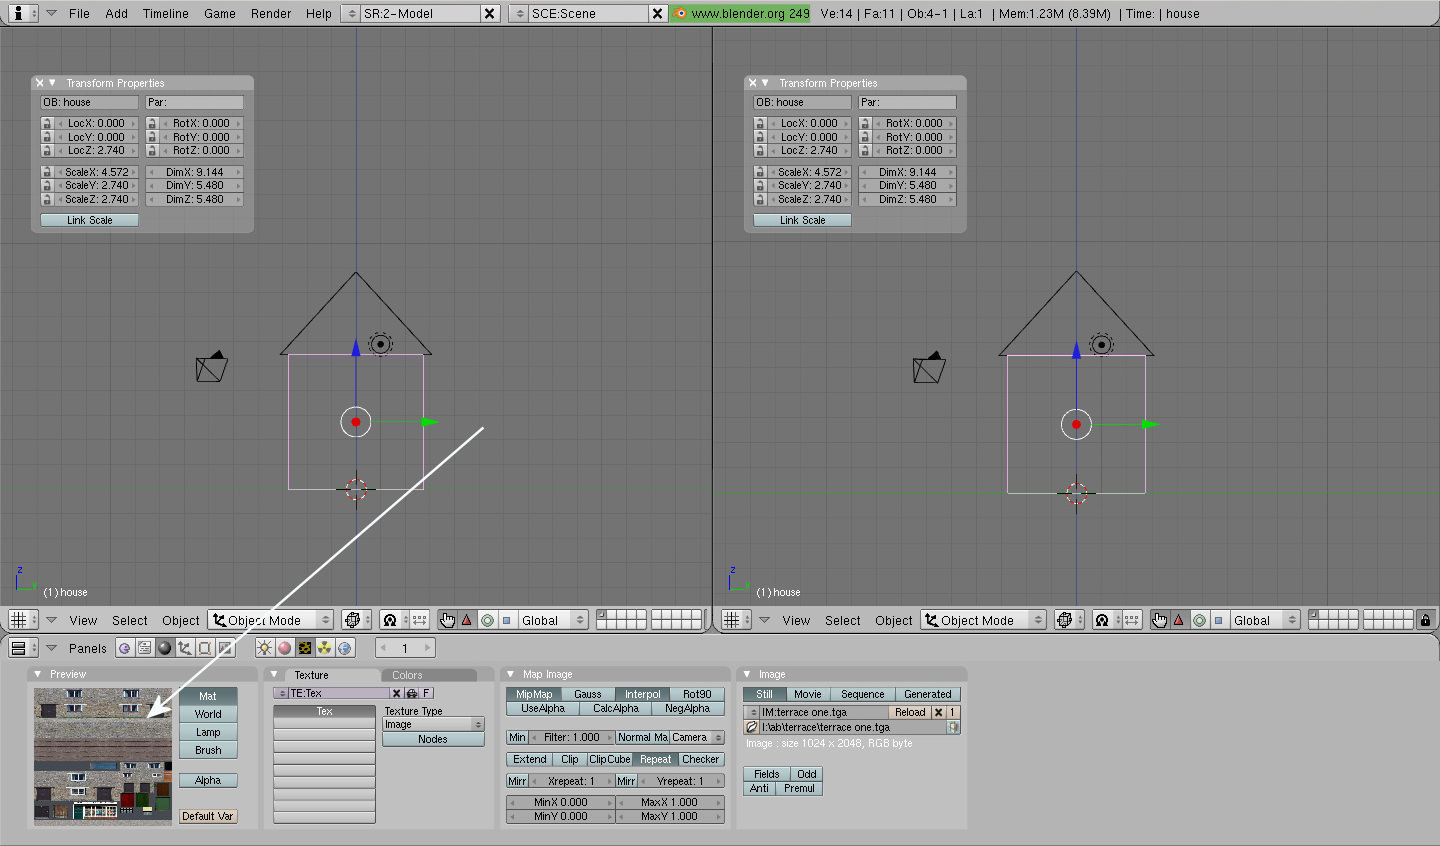
Life is easier if we can see the model and the texture file at the same time so we'll split the screen. Right click the mouse to get the split screen option then left click to split the screen.
We need to tell Blender what we are about to texture so select the cube or house by right clicking it.
Press F5 followed by F6
select 'image' from the texture type.
Now under the image tab, press 'load' then navigate to your image file. Double click the image file and its name appears in the navigation widow. Press 'select image' and the details and confirmation will appear in the image tab.
F5 to change the map input to UV
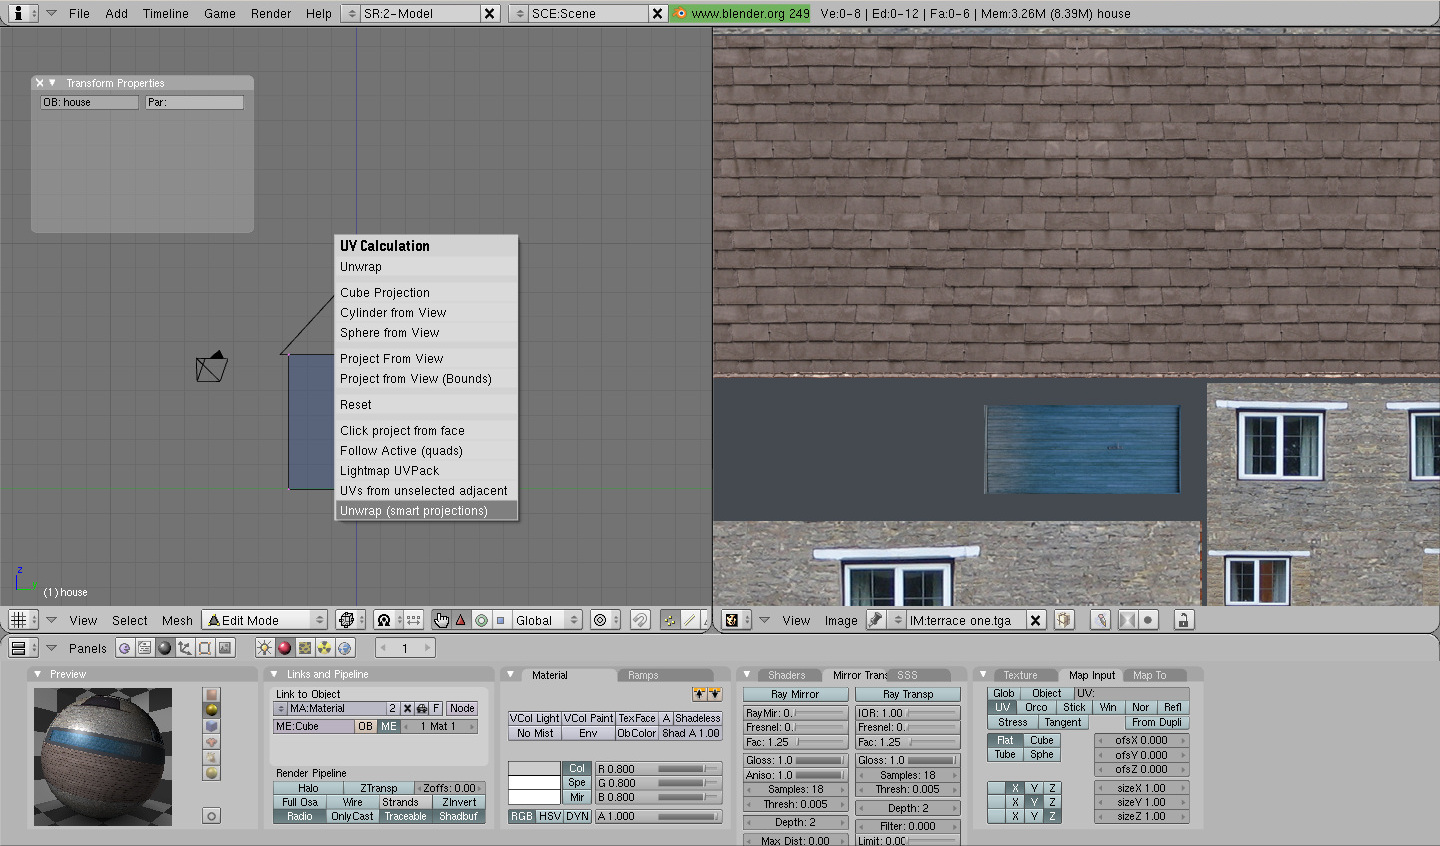
Change one window to UV/Image editor and texture file. Select which window is active by moving the mouse to it.
We have to unwrap the image so change from object mode to edit mode.
Note you may need to select the texture file in the UV/Image editor window, note the word view, then image and a double arrow. Click on the double arrow to select which texture file to make active. In this screenshot you can see only terrace .tga is available.
Blender actually works with materials which are associated with texture files. You can use more than one texture file by adding new ones and it's here that you select which one to use.
Blender has different views for texturing to see which face is being selected to be textured more clearly wireframe works best. Note the drop down menu next to the object / edit menu.
Type U to unwrap, selecting 'Unwrap (smart projections)'.

Accept the defaults.
Now we need to map a face to the texture. There are three symbols to the lower right of the screen, you may have to <Crtl><up arrow> to see them. The four dots is the vertex select, the triangle is the face select. First toggle the selection to nothing by typing "A". Select the triangle or faces one. Right click our house to select the face, in wire frame mode. If the image doesn't show then select it with the up / down arrow next the letters UVs.

Then change mode to texture to view the result.
Mouse to the UV/Image editor (the one with the texture) Select vertex (four dots). Select each vertex with the RMB (right mouse button) move it to the desired location on the texture then LMB (left mouse button) click to accept.
After mapping the first face use 1 (top keyboard number), 3, <Shift>1, <Shift>3 to bring up each face in turn and to map it.
When finished return to object mode.
To map the roof you can either go through the process again or after noting it's X, Y, Z dimensions and location delete it, clone the house with <Shift>D, <esc> then feed in the numbers for the height, width, location you used for the roof into the properties tab and adjust the mapping on the texture file.
When finished return to object mode and save the file.


